How to install Cobos in Eclipse
The purpose of this article is to explain how to easily install Cobos and to start using it. One of the major feature of Cobos is its ability to edit and compile COBOL and PL1 programs without any resource installation on your Mainframe.
Installation steps
Since Cobos works as a plugin of Eclipse IDE, you’ll need to install a compatible version. The recommended version for Windows can be found here:
- Launch Eclipse and select a new workspace (temporary used for Cobos plug-in installation).
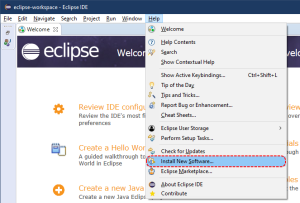
- Installation of plug-ins: Select in the menu “Help ► Install New Software…”
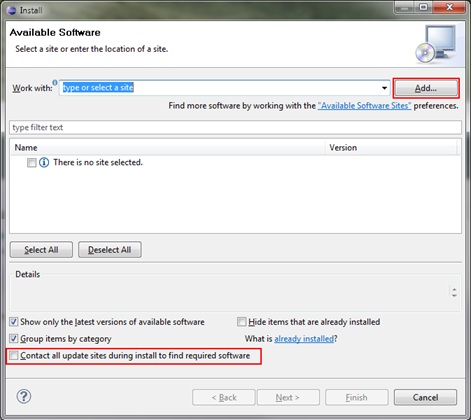
- Add local plug-in archives: Click the “Add…” button.
Tip: to save time, you should uncheck “Contact all update sites during install to find required software”. - In the dialog box, click on the “Archive…” button then select the directory Products where the Cobos plug-in are stored and choose one archive file containing plug-ins to be installed.
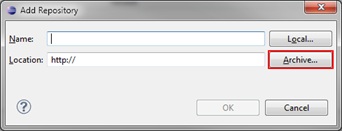
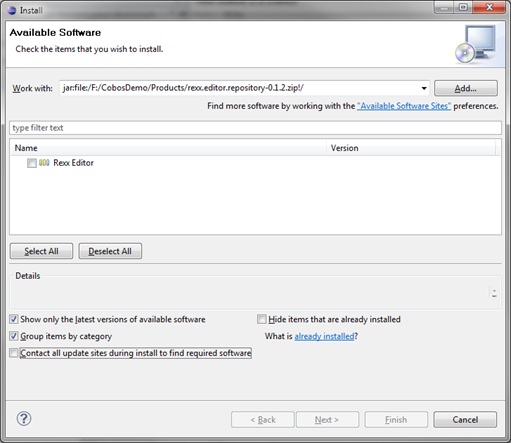
The component appear alone in the window :Repeat from step 3 for each archive.
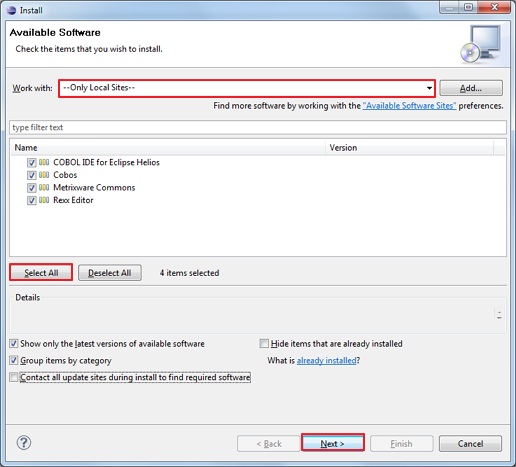
- Check plug-ins: Select “–Only Local Sites–”, click on “Select All” button and click on “Next” button.Be patient: “calculating requirements and dependencies” can take a while in some case.
- Review (OK, screenshots are not up-to-date:) and confirm by clicking on “Next” button.
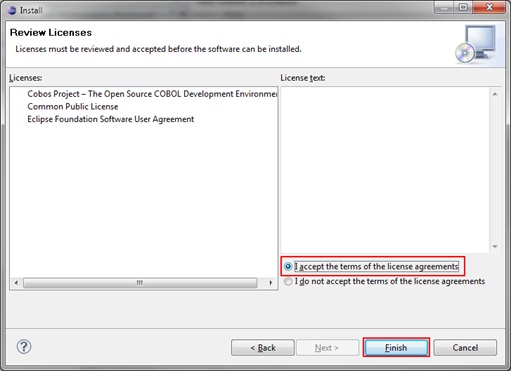
Four items are to be installed: - Accept the terms of the license agreements and click on “Finish” button.
- It is possible that a security warning appears during the installation phase. Click on “OK” button to continue the installation.
- When the installation is finished, restart Eclipse and select the Cobos_workspace directory that you have unzipped from Cobos_3.x.x_Release-demo.zip file
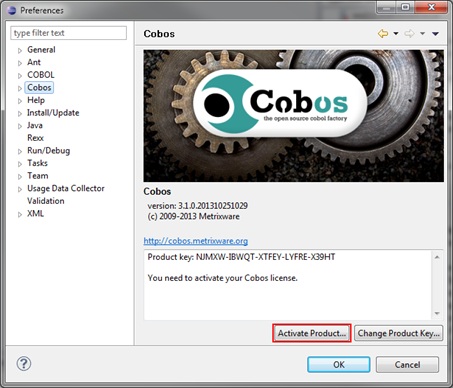
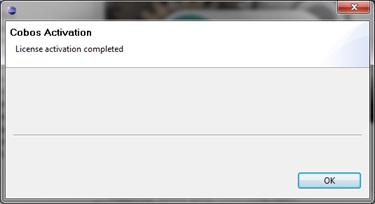
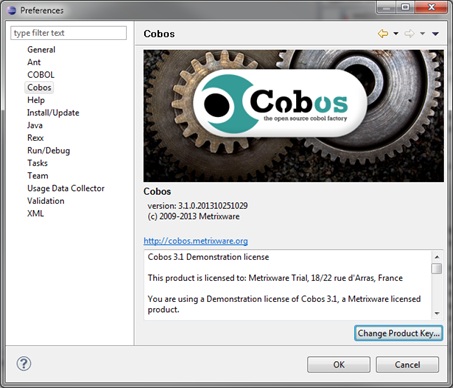
- Go to Windows > Preferences > Cobos and click on “Activate Product” as shown below. A popup window indicates that your Cobos license is activated. Click “OK”, your demo license is displayed.
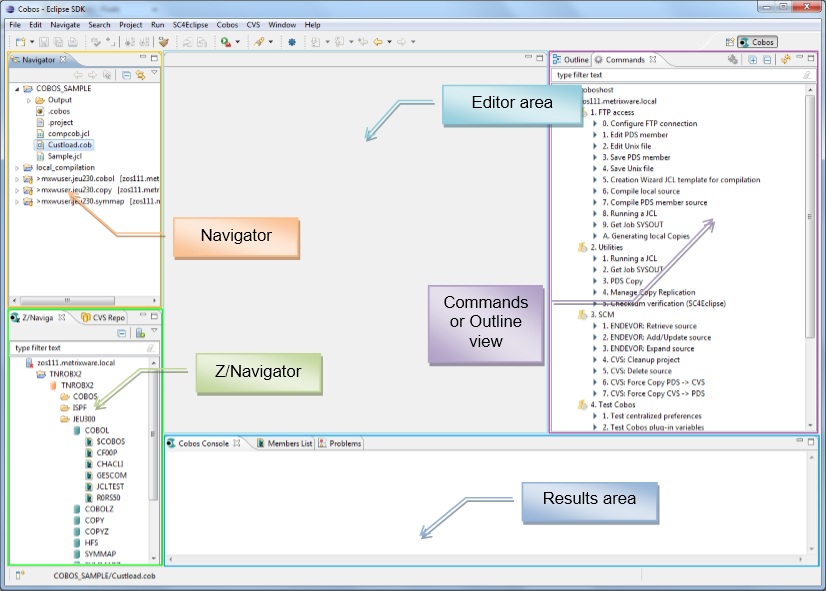
- You are now ready to use Cobos in standalone configuration (without installing Cobos components on the mainframe). Below is the Cobos perspective you will work in:
Ready to go!
Congrats! You’re now ready to use Cobos. We’ll see in the next tutorials how to use Cobos core features, such as:
